Create your DigiLocker account and store your Aadhaar, driving license, and more. DigiLocker is a cloud document storage wallet developed by the Ministry of Electronics and Information Technology (MeitY). Having a DigiLocker account provides easy access to documents and certificates, including Aadhaar cards, mark sheets and driving licenses.
What is Digital Locker ?
DigiLocker is a key initiative under Digital Indi a, the Indian Government’s flagship program aimed at transforming India into a digitally empowered society and knowledge economy. DigiLocker ties into Digital India’s vision areas of providing citizens a secure document access platform on a public cloud.
Targeted at the idea of paperless governance, DigiLocker is a platform for issuance and verification of documents & certificates in a digital way, thus eliminating the use of physical documents. DigiLocker has helped in bringing paradigm shift towards paperless governance i.e. it helped citizens and departments to shift from paper based processes to paperless process thereby helping to contribute to Hon’ble Prime Minister’s vision of Digital India.
These digital documents are legally valid documents under the Indian Information Technology Act 2000. Furthermore, under Rule 9 A of “The Information Technology (Preservation and Retention of Information by Intermediaries Providing Digital Locker Facilities) Rules, 2016” issued documents available via Digital Locker are to be treated at par with original physical documents.
Benefits of Digilocker
There are various advantages of using a digilocker. Some of the major benefits are mentioned below-
- With the help of digilocker, citizens can access their digital documents at any time, and anywhere. They can also share their documents through this app.
- It reduces the burden of carrying and holding the burden of physical documents for both administrative departments of government and the common citizen. Therefore, it also helps in reducing the use of paper.
- Validation of authenticity and genuineness of documents become easy because these docs are directly issued by the registered issuers.
- You can upload documents by your own and these documents can be eSigned. It is similar as the process of self-attestation.
- These e-documents are more secure and protected than physical documents.
- It saves time and is more convenient than other methods.
Digilocker Registration
It has also been launched to facilitate paperless governance in India. With this facility citizens can upload, digitally sign (eSign) and share their documents at any time and place. All the documents on this platform are equally valid as of the physical documents. For instance, citizens can show their driving license, e-Aadhaar, mark sheets, certificates and other documents on digilocker wherever and whenever required.
How to activate Digilocker account?
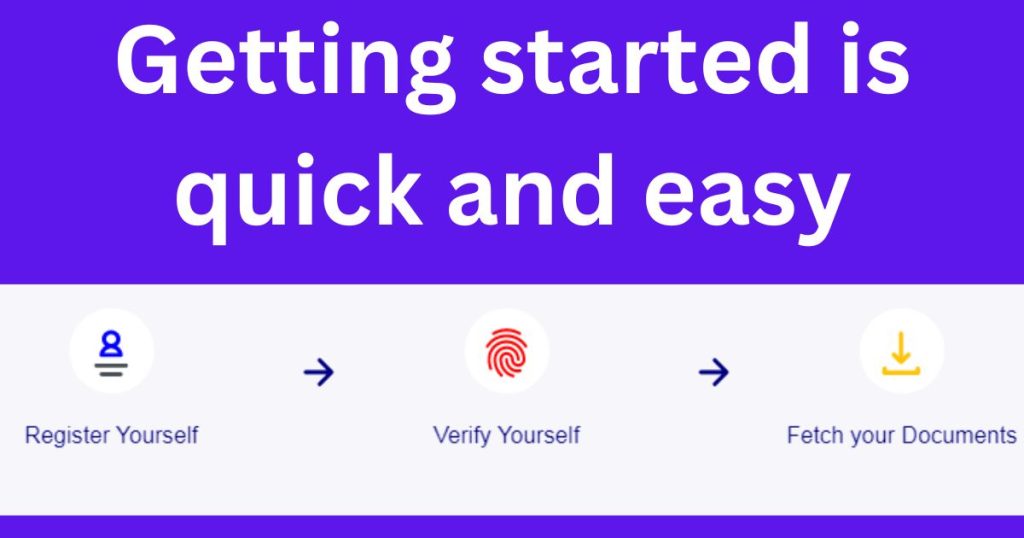
To work in Digilocker, citizens are required to sign up first. They need to have a valid mobile no. to open an account in Digilocker. They do open a new account from the official digilocker portal or through the mobile application.
Signing up in digilocker is very easy. For the convenience of the users we have explained the sign up process in few easy steps.
Citizens have to follow the instructions shared below-
- Visit the official digilocker website – You have to start by visiting the official website of https://digilocker.gov.in/
Click on the signup button on top of page – Click on the “Sign Up” button given on the homepage of the portal.
Enter your mobile number – Sign up page will appear. You have to enter your mobile number and have to click on “Continue” option. - Set your username and password – Now, create your username and password as per the instructions given. You can also use your mobile number or email as your username. Your digilocker account will be successfully created after you will click on the “Signup” button.
- Submit Aadhar number to avail benefits – After the creation of an account in digilocker, you can also submit your Aadhar details. Submission of Aadhaar details allows you to avail the services on digilocker.
In order to submit the aadhar details, you have to enter the Aadhar number in the box provided and have to click on Submit option. After that, you can avail all the digilocker services whenever required. - Login to your digilocker account – You have to log in by using the username and password you have created.
How to upload certificates and documents?
Digilocker is an electronic platform to hold documents and certificates in an electronic medium. Once you have signed up for the digilocker you can upload your documents/certificates.
The complete step-by-step guide for uploading important certificates/documents is as follows-
You have to start by Signing in to the digilocker account using your username and password set during the activating account.
Step 1– Document Upload Screen
All the given activities will be performed only in the document upload window.
- After signing up, click on “Uploaded Documents”.
- Click on the “Upload” mentioned on the screen as shown in the picture.
- You can upload more than one document at a time.
Step 2– Document Upload Screen
These steps will also be performed in the document upload screen.
Click on the “Upload” tab.
Here you have to choose the location and select the file (s) you want to upload.
Once you have selected the file(s), click on the “Open” button.
You can select multiple documents at a time.
The selected documents will get uploaded. You can see all the documents in the uploaded documents list.
Step 3– Select Document Type
This step is to set the type of document you have uploaded.
Click on “Select Document Type” for any of the documents available in the uploaded documents list.
A drop-down box will appear, select the document type. In case, your document does not match with the predefined document type then you have to select the “Others” option in the drop-down box.
Click on the “Save” button.
The document type will be updated. You can see the same reflected in front of the document.
How to eSign documents in Digilocker?
Digilocker also provides a facility to e-sign the documents and certificates uploaded in digilocker. E-sign is one of the efficient and easy ways of signing electronic documents digitally.
If you want to digitally sign your documents through digilocker, you can follow e-signing procedure shared below-
- Login to the digilocker account using a desktop or mobile application.
- Open the “Uploaded Documents” icon.
- The list of uploaded documents will appear.
- Click on the “eSign” link provided in the front of the document you want to sign digitally.
- You will receive an OTP on your mobile no.
- Enter the OTP in the text box (pop-up) and click on eSign button.
- Selected documents will be eSigned.
- You can only eSign one document at a time. Once the selected document will be digitally signed it will be converted into PDF if it is not a PDF document.
How to share documents via Digi locker?
Digilocker also provides sharing facilities to users. Those who have digilocker account can also share the uploaded documents through this platform. If you also have to share some documents using Digi locker but you don’t have any idea to share, you do not have to worry about. We are here to help you
To help you in this process, we have shared the complete procedure below in easy and simple steps. You can follow the given process-
- Step 1- Start by visiting the dig locker website.
- Step 2- Sign in using valid credentials.
- Step 3- Click on the upload document link.
- Step 4- The list of uploaded documents will appear.
- Step 5- Click on the “share” link given on the same section.
- Step 6- A pop will appear on the screen. Enter the email ID of the person/entity with whom you are going to share it.
- Step 7- Click on send button.
- Step 8- Selected documents will be shared.
You can only share one document at a time. You have to repeat the same procedure each time you want to share a document on Digi locker.
How to get E-Aadhaar in Digilocker?
If you have linked your Aadhaar with your Digi account, then you can also access your digital Aadhaar using Digilocker. The aadhaar issued by digilocker is same as E-Aadhaar issued by UIDAI.
You can get your Digital Aadhaar through digilocker by following the given steps-
- Sign in the dig locker account using login credentials.
- A dialogue box with a message to get your Aadhaar will appear.
- Hit the “Click here” link and the OTP box will display.
- You have to enter the OTP that you will receive on your registered number.
- After validation of OTP, you will be redirected to “Issued Documents” page.
- On this page, URI for e-Aadhaar will be listed.
- On the same page, click on “save” button mentioned next to the eAadhaar card.
- Finally, your eAadhaar will be saved and listed in the “Uploaded Documents” section.
- Digilocker Mobile Application (App)
- Digilocker is also available in the form of mobile applications. Users can download the application on their mobile and can use it whenever required.
The mobile app links for Android and iOS users are shared below-
For Android users- https://play.google.com/store/apps/details?id=com.digilocker.android
For Apple iOS users- https://itunes.apple.com/in/app/digilocker/id1320618078
How to Delete DigiLocker Account
Once you register and activate your DigiLocker account, it is there to stay. You cannot delete or deactivate your DigiLocker account.
Note: If you register using a mobile number, your Aadhar details will not be linked. If you signed up with an Aadhar card, your DigiLocker account will automatically be updated with your Aadhar information. Once updated, you cannot delete it.
The Indian government has not given the application a way to delete or turn off the Digilocker account. There is also no option to delete the issued documents from your DigiLocker account.
How to delete DigiLocker Account via mail?
Deleting your DigiLocker account via email is a risky method. If you have a valid reason for deleting the account, you can reach DigiLocker support via mail and hope that they respond and take action on it. Follow the below steps for how to delete DigiLocker Account via mail.
Log in to your email account.
You will need to compose an email and make it out to nad.support@digitalindia.gov.in.
You can keep the Subject as “REQUEST FOR ACCOUNT DELETION” or “DIGILOCKER ACCOUNT DELETION.”
In the body section of the email, write about why you want to delete your account and request for deletion.
How to delete uploaded documents?
As you may already know, DigiLocker lets you upload any documents you want to the program. You can upload any document, it is not restricted to official documents only. You have the option to delete one or all of these uploaded documents whenever you want.
Once you delete the uploaded documents, you have gotten rid of all your data from the application. Even if the DigiLocker account is still active, you have nothing to worry about. There can be no security or data breach once you delete the uploaded documents.
An alternative to deleting the DigiLocker account is to delete the uploaded documents. Once you delete all of the files you’ve uploaded, the DigiLocker app will no longer have any of your information.
Steps to delete uploaded documents on DigiLocker:
- Log in to your DigiLocker account with your mobile number or Aadhar card. It will prompt for an OTP that you will receive on the registered mobile number.
- Click on “About Digilocker“, on the left navigation panel.
- Click on “Contact Us“.
- Enter your email address and click on “Submit.”
- Enter the OTP sent to your email address and click on “Submit.”
- Fill out the form to open a new ticket. Select “Delete Issued Documents” under category and “Unable to delete documents” in sub-category. Click on submit.
- A customer support representative will reach out to you to have your documents deleted.
Frequently Asked Questions – FAQs
How can I access Digilocker?
Digilocker can be accessed at https://digitallocker.gov.in
Are all the documents issued on digilocker are valid?
Yes, they are all equivalent to original certificates and documents
Can I update or change my registered mobile no.?
Yes, you can change or update your registered mobile no. The update option is available in the profile section but it is available only if your digilocker account is not linked with your Aadhaar.
Can I change my username in my Digilocker account?
No, in the current version of this application no such facility is available. You cannot change your username that you have created in Digilocker.
What is the maximum size of file that I can upload?
You are allowed to upload a file of maximum 10MB in size.
What are the types of file that can be uploaded?
You can upload any file in PDF, jpeg and png format.
How many times a document can be digitally signed?
You can digitally sign your documents only one time in digilocker. Already eSigned documents uploaded in digilocker cannot be eSigned again.
Can I use a mobile number to sign up a new account which is already registered with a digilocker account?
No, it is not allowed. You can open only one account with a single mobile number. To open a new account, you will need a new no. which is not registered
Can I delete activity list in my digilocker account?
No, you cannot delete or edit the list of activities. You can only view all the activities you have performed. This option is only provided to view the activities.
I am an NRI, can I sign up using a non-Indian/Foreign No.?
No, you can only sign up by using an Indian mobile no.
How will issued documents show up in my Digilocker account?
There are two ways-
Push (via Aadhaar)– Push methods works for the digilocker accounts which are seeded with Aadhar card of the user. After issue of an e-documents by a registered issuer for a particular Aadhaar number, the URI for that document automatically pushed into Digilocker.
Pull (via parameters)– It is applicable when the database does not contain the seeded Aadhar number. Citizens can pull their record from the issuers database by using certain parameters. The URI will be saved in the issued document section once the record is fetched.
What do mean by URI?
URI stand for Uniform Resource identifier which is generated by the issuer. It is compulsory for all the e-documents of the digilocker system. URI is unique and can be resolved to a full Uniform Resource Locator (URL) in order to access the actual documents in its repository.
Are document safe in online in digilocker?
All the documents on digilocker are safe and protected. Security measures that are used in this cloud-based platform are-
Standard Practices
256 Bit SSL Encryption
ISO 27001 certified Data Centre
Mobile Authentication based Sign Up
Timed Log Out
Aadhaar Authentication based Issued Document access
Security Audit
User consent Bases system
Data Redundancy
How to delete digilocker account?
You can not delete your digilocker account, however you can delete the documents uploaded and issued online.
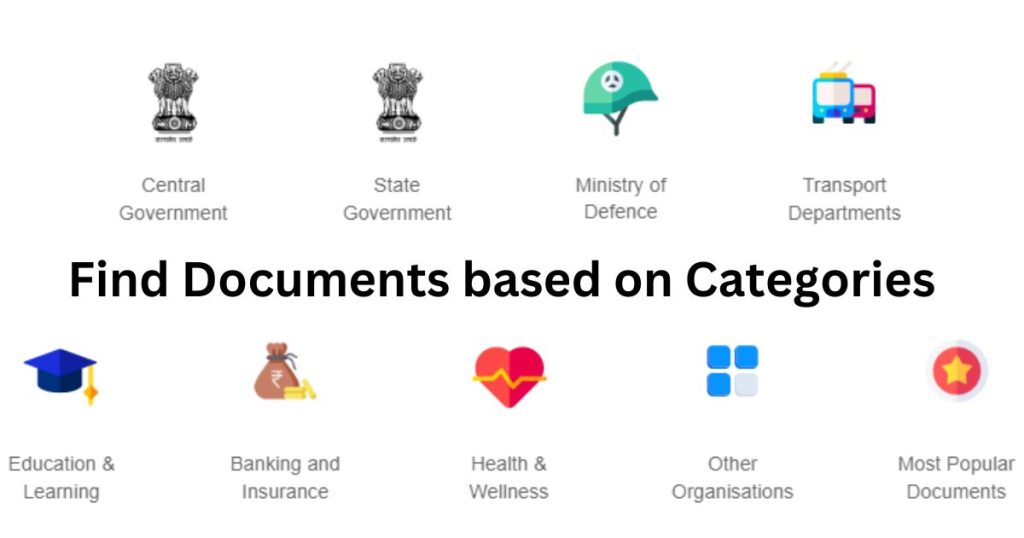
Stakeholders in Digilocker –
There are basically three stakeholders in Digilocker viz.-
Citizens– Citizens can create their account in Digilocker and avail the facilities such as uploading, issuing, eSigning and sharing of documents.
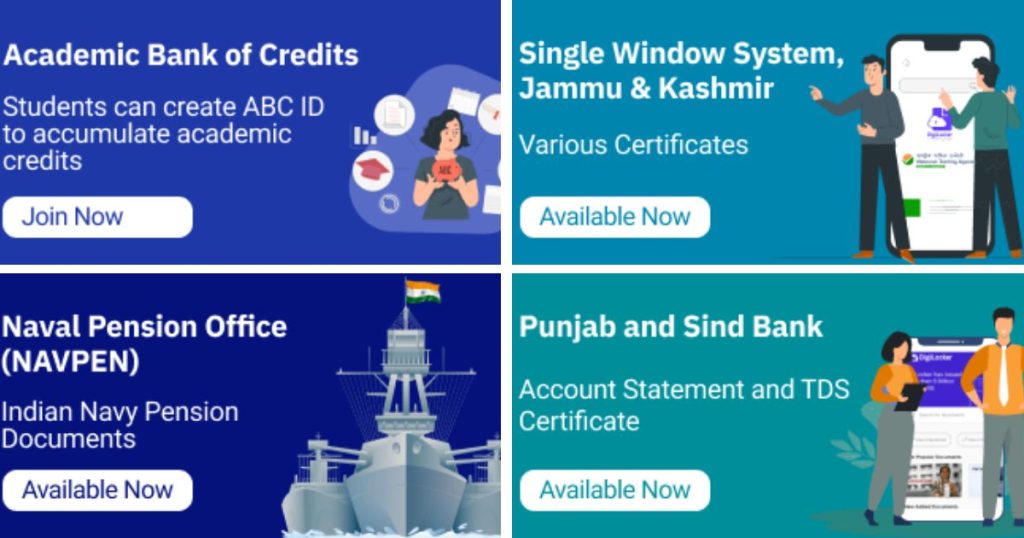
Issuer– All the agencies which are registered with digilocker to issue e-documents to citizens such as UIDAI, CBSE, Income Tax Department, Registrar office etc.
Requester– In context of Digilocker all the government departments and organization such as Passport office, revenue dept, municipality departments, banks, telecommunication org. etc. wherever documentation is required comes under the purview of requester.
If an organization want to issue documents using digilocker or wish to be a requester in this system, it needs to be registered with Digilocker first. They have to contact the support team as it will forward this request to the on-boarding team of Digilocker.